|

~°~
Original by
Le Monde de Bambou
~°~
Thank you Nicole for
your permission to
translate your
tutorials.
Please read my
TERMS
before sharing this
tutorial!

|
Materials:

This translation is
written for PSP15 but can also be made with other PSP versions.
|
Acknowledgements:
-
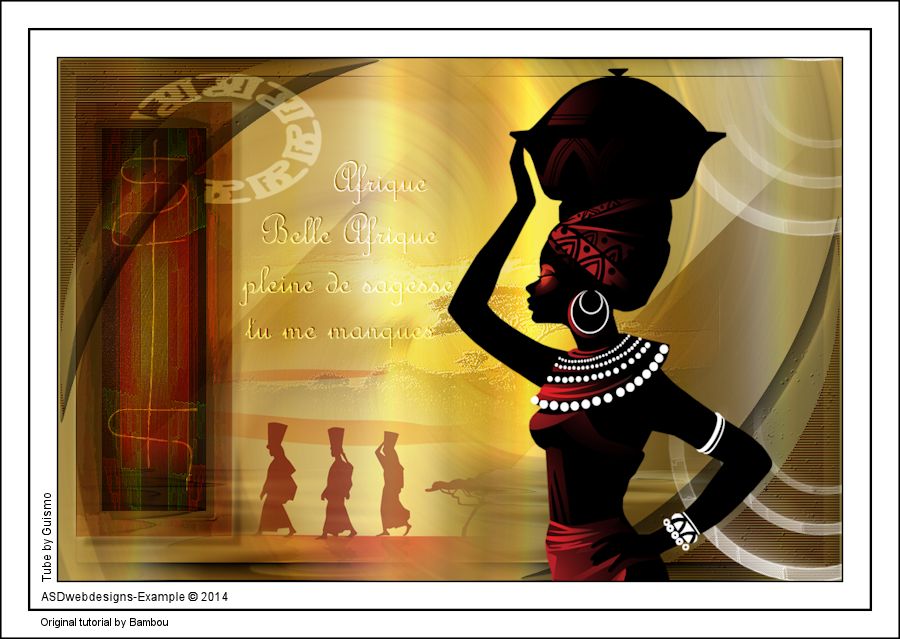
Tube by
Guismo You can find her her great tubes
HERE
|
Plugins:
-
Flaming Pear -
Flood
-
DC
Special - Crystal
-
2mankenai(tm)
MezzoForce-Ice
-
Alien Skin Eye Candy
5 - Impact - Motion
Trail
-
AAA Frames - Foto Frame
|
Preparations:
-
Double Click on the Eye Candy Preset,
it will be imported automatically
- Save the Flaming Pear Preset to your hard drive
-
Open the Brush in PSP and export as
Custom Brush ( File -
Export - Custom Brush)
From PSP 14
and higher versions there is no option for Image - Mirror & Image - Flip There is
a new option but this does not give the same result except when the tube/image
covers the whole image from side to side There is a easy way to add
the old Mirror and Flip options to the Image Menu I have written a tutorial
you can find it
HERE
|
Colors:
 |
 |
 |
 |
|
|
|
|
|
#fff4a2 |
#9b7a2f |
#000000 |
#ffffff |
|
|
|
|
Note: When working with your own colors, play with the Blend Mode
and/or Opacity at your own discretion
#fff4a2
Set your Backgroundcolor to
#9b7a2f
Color Palette: Set your Foregroundcolor to
Foreground/Background Gradient
(Corel_06_029) - Style: Radial
|
The tutorial:
01
Open a
new transparent image of 900 x 600 px
Fill with the
Gradient 
02
Layers -
Duplicate
Image - Resize - 80% - Resize all
Layers not checked
Effects - Geometric Effects - Skew
Layer
Palette - Double
click on this
Layer and set
the Blend Mode
to "Multiply"
Effects - Image Effects - Seamless
Tiling
Effects - Plugins - Flaming Pear -
Flood -
Click on the Red
Arrow
 and load Preset
flood-oumbalaya
and load Preset
flood-oumbalaya
Or
if this is not
working for you with
these settings (Foregroundcolor)
03
Color Palette:
Check the Invert
box of the
Gradient
Layers - New Raster
Layer
Selection Tool -
Rectangle  - Custom
Selection: - Custom
Selection: 
Fill the
Selection with
the Gradient 
Selections -
Select None
Effects - Distortion Effects - Pixelate
Effects - Edge
Effects - Enhance
Effects -
Distortion Effects -
Wind - From Right
checked - Wind
Strength: 100
Effects -
Distortion Effects -
Wind - From Left
checked - Wind
Strength: 100
Effects - Image Effects - Seamless
Tiling
04
Open Tube " nicole-element
oumbalaya1"
Edit - Copy
On your work image: Edit - Paste
As New Layer
Layer Palette -
Double click on this Layer and set the Blend Mode to
"Hard Light" and the Layer Opacity to 50
05
Open Tube "AfricanLandscape "
Edit - Copy
On your work image: Edit - Paste
As New Layer
Note: This is
a different image
than used in the
original because
there the image is
not provided in the
materials from
Bambou
Layer Palette -
Double click on this Layer and set the Blend Mode to
"Soft Light"
Effects - User Defined Filter -
Emboss_3 
06
Layer Palette - Click on the Second Layer from
the Top
Selection Tool -
Rectangle - Custom
Selection:
Selections - Promote Selection to
Layer
Layers - Arrange - Bring to Top
Selections - Modify - Contract - 30 px
Effects -
Plugins - DC
Special - Crystal
Effects - Edge Effects - Enhance
Layer Palette -
Double click on this Layer and set the Blend Mode to
"Soft Light"
Effects 3D Effects -
Dropshadow -
Color #000000
- Default Settings
Keep Seleted
07
Layers - New Raster Layer Open Tube "image-oumbalaya"
Edit - Copy
On your work image: Edit - Paste
Into Selection
Layer Palette -
Double click on this Layer and set the Blend Mode to
"Soft Light"
Selections - Select
None
08
Layer Palette - Click on the Second Layer from
the Top
Selection Tool -
Rectangle - Custom
Selection: -
Same as before
Selections - Modify - Select
Selection Borders
Effects - Plugins -
2mankenai(tm)
MezzoForce-Ice
Selections - Select None
NOTE: If the
Mezza Force plugin
is not working for
you, use the "ASDwebs_MezzaForce_applied"
tube I provided
instead, paste it
into the Selection
and go further with
the tutorial
Effects 3D
Effects - Dropshadow
- Color #000000
-
Default Settings.
Your work and Layer
Palette look like
this now:
09
Color Palette:
Set the
Foreground
Gardient back to
color and change
to #ffffff
Layer Palette - Click on the Top
Layer
Layers - New
Raster Layer
Selection Tool -
Rectangle - Custom
Selection: -
Same as before
Fill with the
Foregroundcolor
Effects - Plugins -
Alien Skin Eye Candy
5 - Impact - Motion
Trail
- Settings
Tab:
Preset "oumbalaya-motiontrail"
Edit - Cut (Or hit the Delete Key of
your Keyboard)
Selections - Select None
Layer Palette -
Double click on this
Layer and set the
Blend Mode to " Soft
Light"
10
Open Tube " nicole-elementoumbalaya"
Edit - Copy
On your work image: Edit - Paste
As New Layer
Effects - Image
Effects - Offset
Layers -
Duplicate
Image - Mirror
Image - Flip
Layers - Merge -
Merge Down
Layer Palette -
Double click on this
Layer and set the
Blend Mode to " Multiply"
11
Layers - New
Raster Layer
Paint Brush Tool
 - "nicole-p4" -
Size:
- "nicole-p4" -
Size:
202
-
Step:
32 - Density: 100 - Rotation:
263
-
Opacity: 100 - Blend
Mode: Normal -
Continuous checked -
Wet look paint Unchecked
Stamp with the
Foregroundcolor
in the Top Right
Corner like this:
1 2
Paint Brush Tool 
-
Change the
Size of the Brush to
302
Stamp under the
first one like this
1 3
Paint Brush Tool
-
Change the
Size of the Brush to
402
Stamp under the
second one like this
Effects - Image Effects - Seamless
Tiling
14
Layers -
Duplicate
Layer Palette - Click on the Second Layer from the Top
Effects - Distortion Effects - Wind
- From Left checked - Wind Strength:
100
15
Open Tube "calguisafricaine06082011"
Layer Palette - Click on the Second Layer from
the Bottom (mist1
nomade)
Edit - Copy
Minimize to tray , you need it again
On your work image: Edit - Paste
As New Layer
Effects - Image
Effects - Offset
Layer Palette -
Double click on this Layer and set
the Layer Opacity of this Layer to
54
16
Open Tube "Texte"
Edit - Copy
On your work image: Edit - Paste
As New Layer
Effects - Image
Effects - Offset
17
Open Tube "nicole-tampon"
Edit - Copy
On your work image: Edit - Paste
As New Layer
Effects - Image
Effects - Offset
Layer Palette -
Double click on this Layer and set the Blend Mode to
"Soft Light"
18
Layer Palette -
Click on the Bottom
Layer
Effects - Plugins
- AAA Frames - Foto
Frame
1 9
Layer Palette - Click on the Top
Layer
Maximize Tube "calguisafricaine06082011" from
tray
Layer Palette - Click on the Second Layer from the Top
(guismo_Africaine060811)
Edit - Copy
On your work image: Edit - Paste
As New Layer
Image - Resize -
65% - Resize
all Layers not checked
Effects - Image
Effects - Offset
20
Image - Add
Borders - Symmetric
checked - 2 px -
#000000
Image - Add
Borders - Symmetric
checked - 30
px - #ffffff
Image - Add
Borders - Symmetric
checked - 3
px - #000000
Image - Add
Borders - Symmetric
checked - 30
px - #ffffff
Image - Add
Borders - Symmetric
checked - 2 px -
#000000
21
Image - Resize - Width 900 px - Resize
all Layers checked
Add your name or watermark, save as JPG
file and you're done!
If you wish you can post your result on my Facebook Page

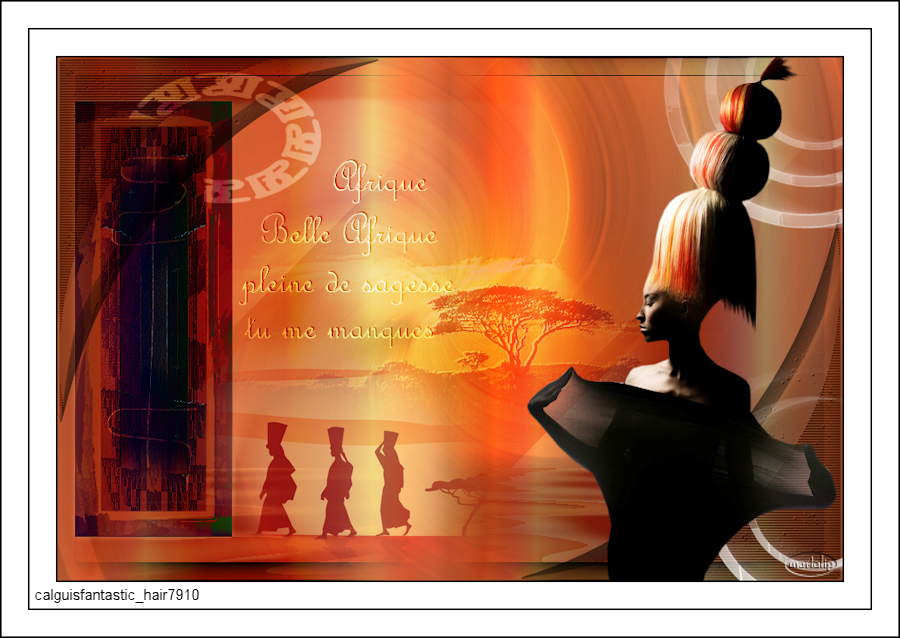
Extra Example:

Tube by Yoka. she
shares her tubes
HERE |
|
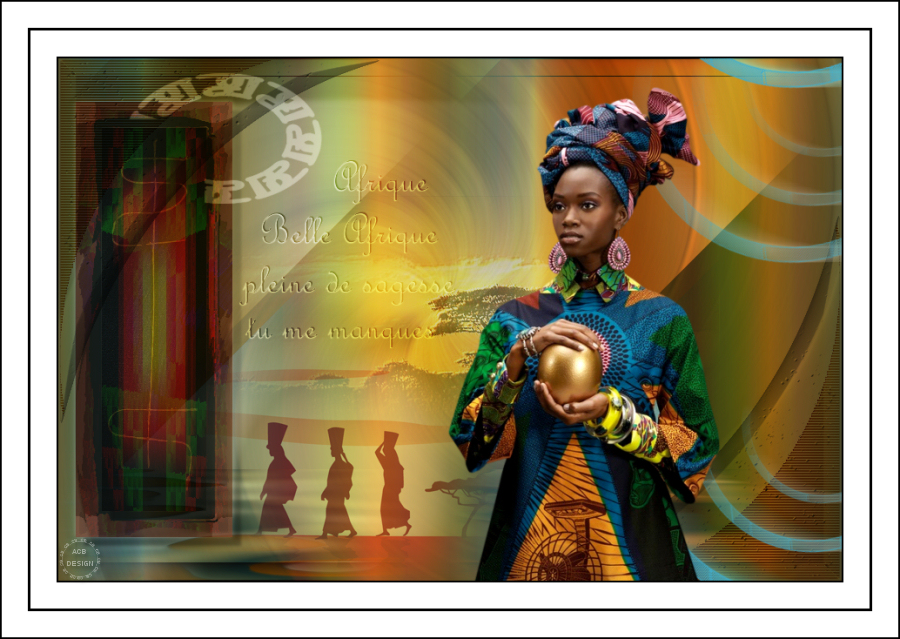
With special
thanks to my testers Chris and Martalip
Martalip:
Chris:
|
Back to the top
Home ASDwebdesigns
If you want to use this tutorial for
your group ,club or forum please
read my
Terms
|
Each graphic is the sole
property of the original
artist to whom the copyright
belongs and may not be
placed in a collection or
offered for sale.
In accordance with
Title 17 U.S.C. Section 107, any
copyrighted work in this tutorial is
distributed under fair use without
profit or payment to those who have
expressed a prior interest in receiving
the included information for non-profit
research and educational or criticism
purpose only.
|
|


